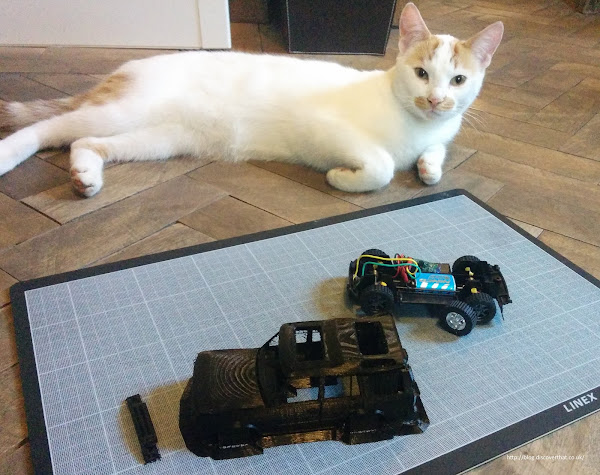
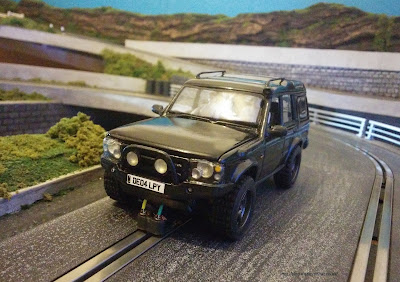
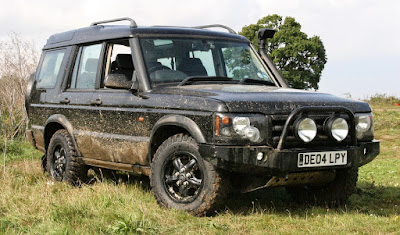
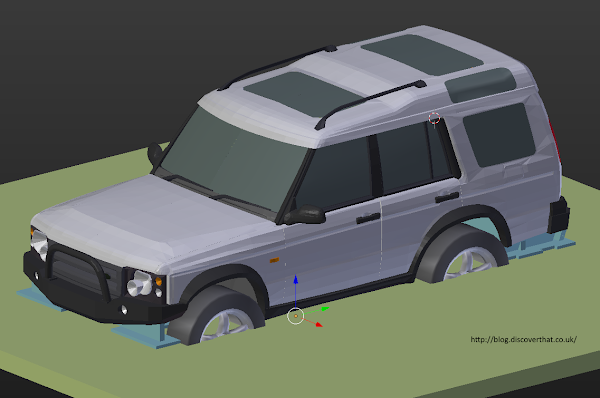
I've been working on this for months but at last I have my Discovery series 2, with it's own modifications mated to a Ninco Bowler raid chassis.
![Image]()
I've driven it round the track and all works well. It even fits easily under both bridges.
![Image]()
![Image]()
![Image]()
![Image]()
![Image]()
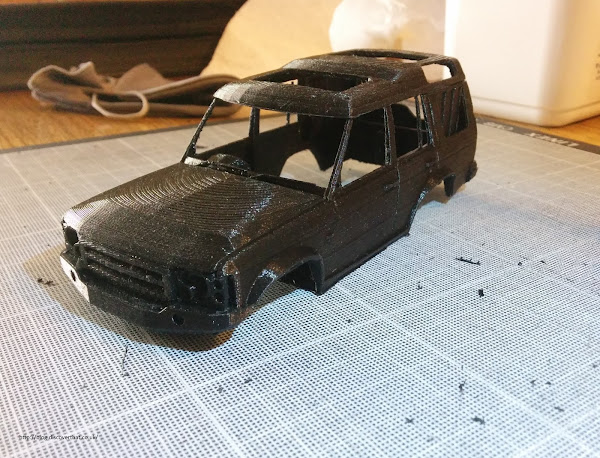
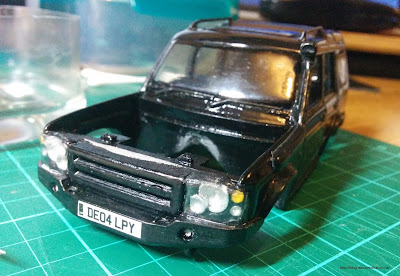
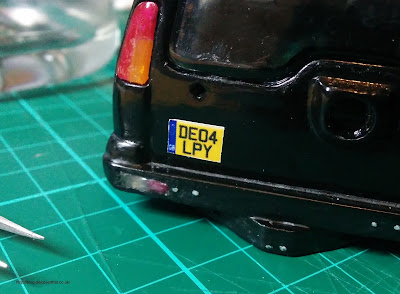
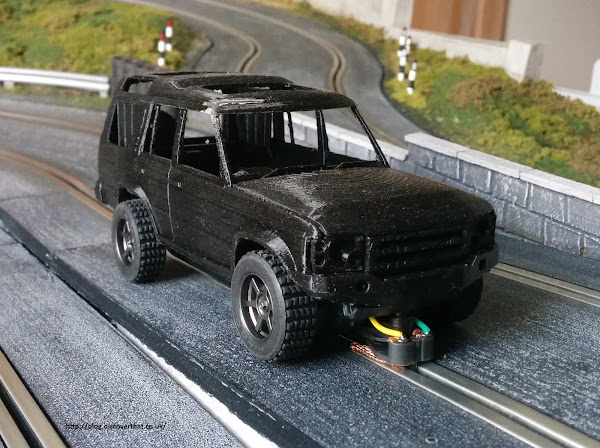
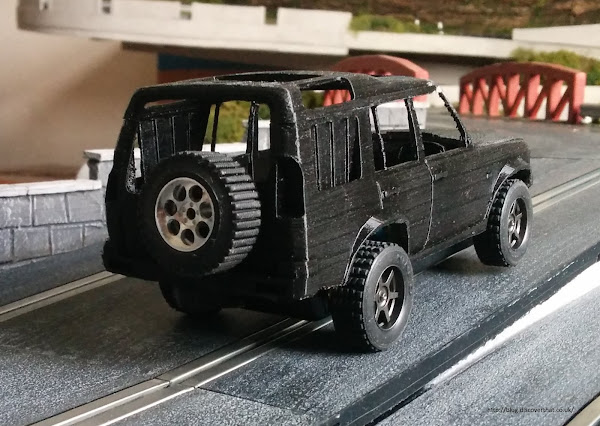
I now have the even longer job of cleaning it up and smoothing away all those print lines!
![Image]()
![Image]()
![Image]()
![Image]()

I've driven it round the track and all works well. It even fits easily under both bridges.


I now have the even longer job of cleaning it up and smoothing away all those print lines!